Creating Underlined Hyperlinks in Inkscape
Sometimes you want to create a vector graphic résumé or an infographic and export it as PDF. Doing this is easy in Inkscape using its Print function to create a file instead of printing on paper.
If your document has a web or email address, it is a good idea to make it clickable, so that anyone looking at the PDF doesn't have to copy and paste the address.
I'll show you how to do that.
Creating a link
Using the Select tool (the mouse-pointer arrow thing), select the object which you want to turn into a hyperlink. This will usually be text, but it can be anything: a rectangle, a path, a vectorized taco, anything.

Now right click on this object and select Create Link.
This will open up a pane on the right that looks like this:
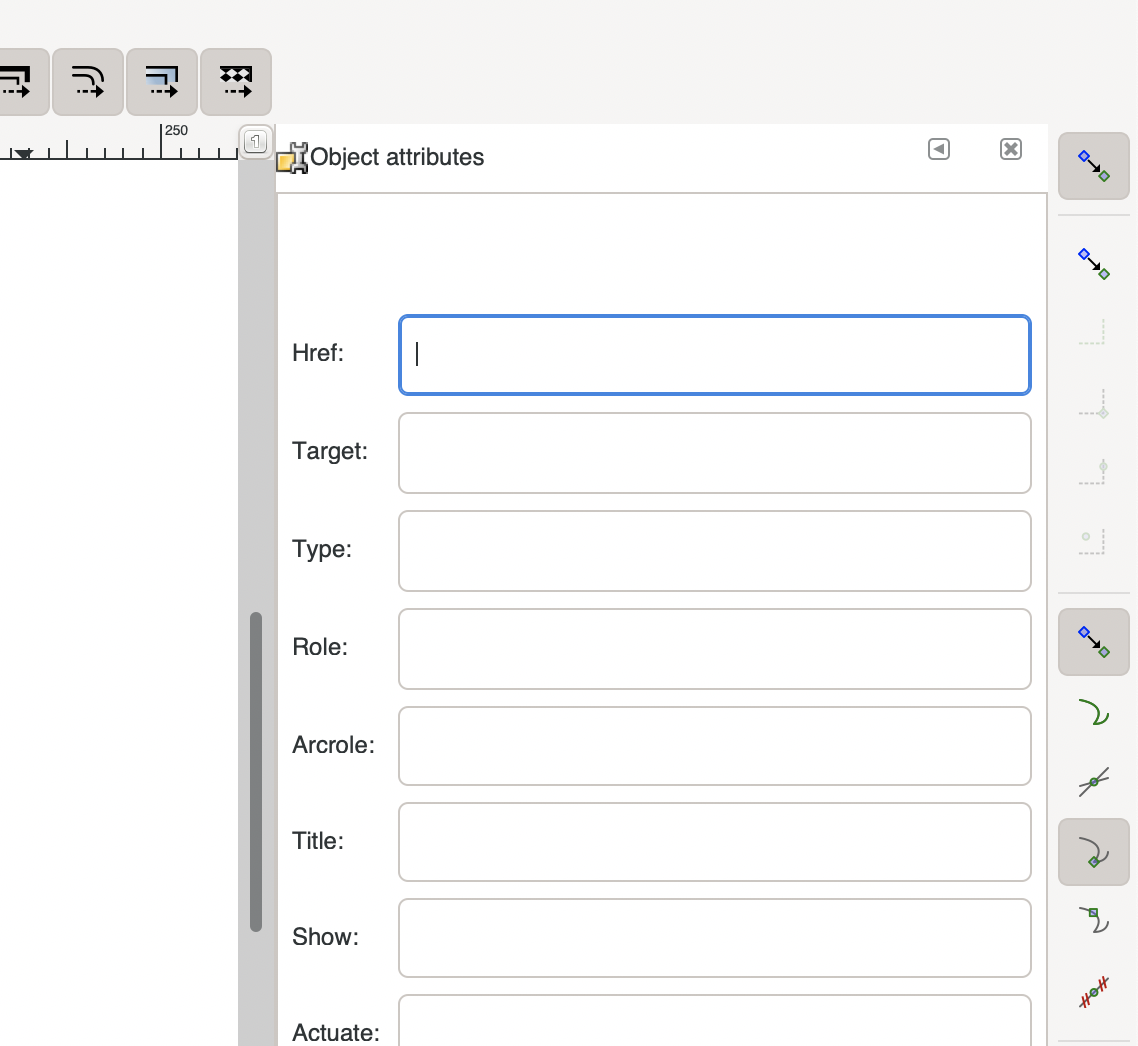
In the Href field, type your address:
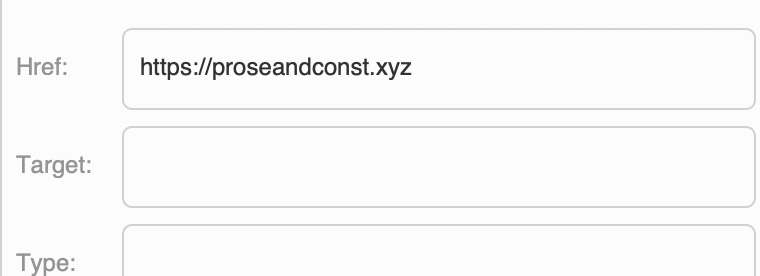
That's it. There's no Apply button. Your object is now clickable. Go home.
But there's a problem. Our text doesn't look like it's clickable.
Adding an underline
The most foolproof way to make text look like a link is to underline it.
To do that, open the Object menu at the top of your window, and select an option called Selectors and CSS…. Then select your text object. This will open up another pane to the right:
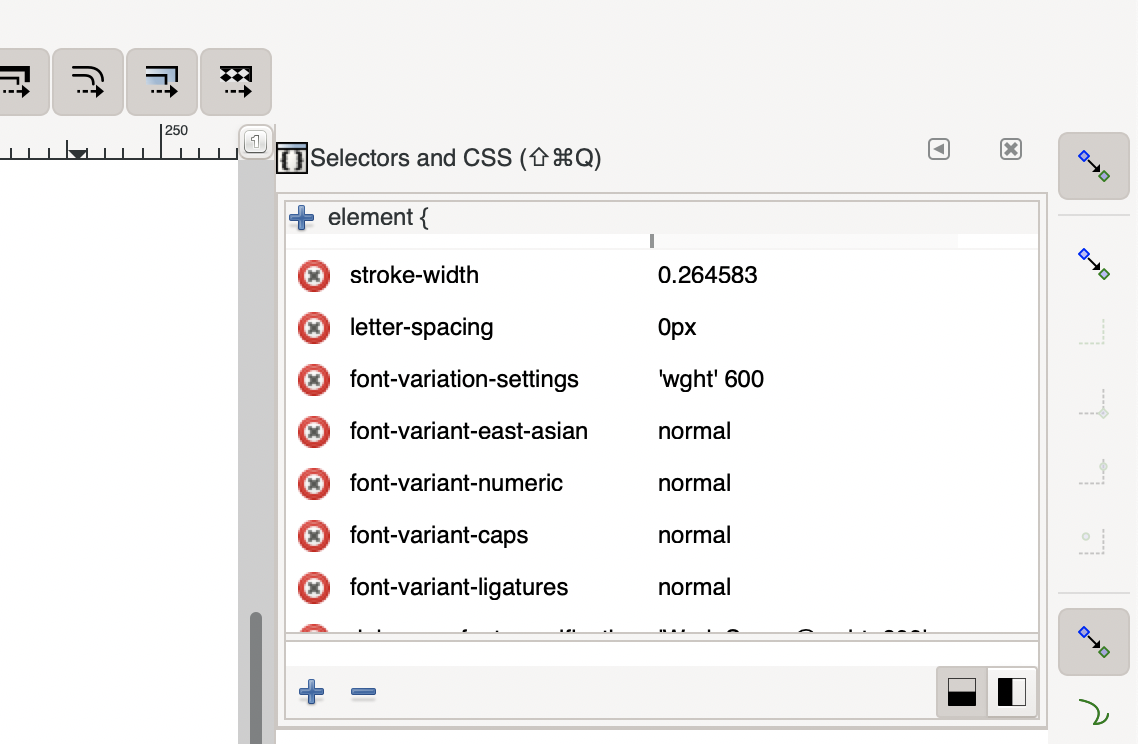
What you see is a table of the various style properties applied to the text under the hood. These are the defaults, but we want to add one more property here.
Click the + icon at the top left corner. It will add a new row.
Start typing text-decoration.
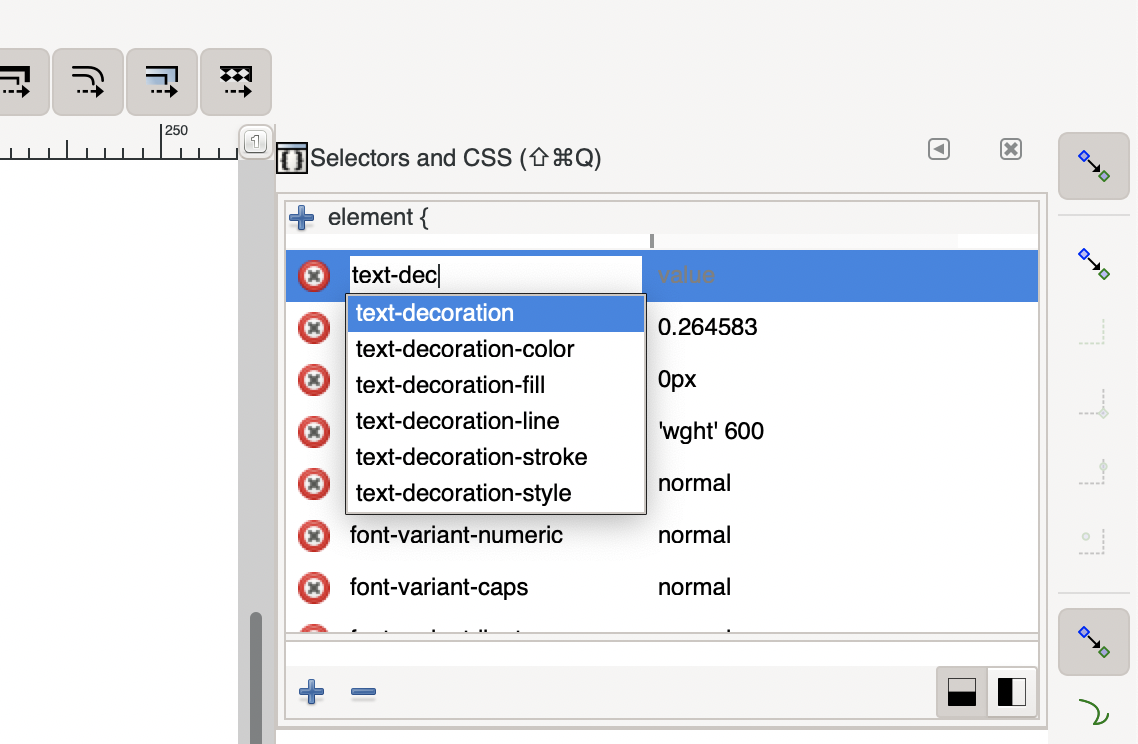
You can select the suggestion. Once done, press Tab to go to the next column. Here, type underline and hit Enter.
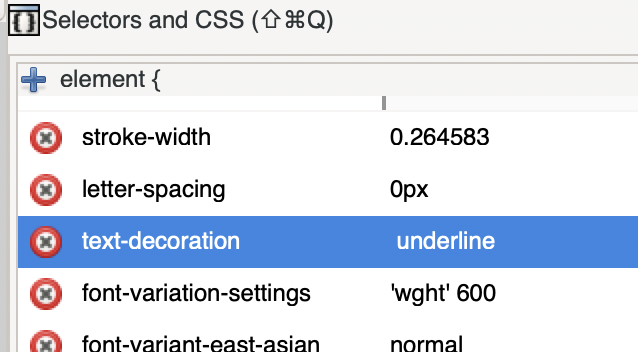
Boom! You have your underline.

But it's not over yet.
What if you, like myself, are not a fan of pure black text on white, and prefer some colour in your life? A black underline is no good.
Colouring the underline
Easy. In the same pane where you added the underline, add another property called text-decoration-color.
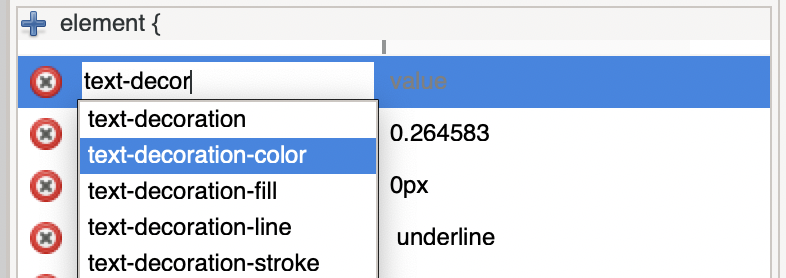
In the right column goes your colour's hex code, #156255 in my case.

You should see the coloured underline now!
