Implementing a ‘Select all’ Checkbox Using ES6 Set
Problem statement
Say you have a list of selectable items like emails or todos. There’s a checkbox next to each item, and the user can select multiple items to do some action with them.
Since you love your users, you don’t want them to always select items one by one, so you provide a ‘Select all’ checkbox. There are four criteria you need to fulfill:
- On checking the ‘Select all’ checkbox, all item checkboxes should be checked.
- On unchecking the ‘Select all’ checkbox, all item checkboxes should be unchecked.
- On individually checking each item checkbox, the ‘Select all’ checkbox should also be checked.
- On unchecking at least one item checkbox, the ‘Select all’ checkbox should also be unchecked.
Why use a set?
You could use an array for this, and indeed, most of the code I have mentioned can be adapted for an array. However, we put our selected items in a set for these reasons:
- We don’t care about the order.
- Removing an item from a set is trivial: just call
.delete(item). It’s not so easy for arrays. You have to find the index of that item, either implicitly or explicitly. - You don’t have to look out for duplicate items while adding or removing them.
- You don’t have to look out for empty slots after removing items.
I am going to provide a step-by-step solution to this. The code uses Svelte, but you should be able to adapt it to React, Angular, Vue or any other framework.
Step 1: Display the checkboxes
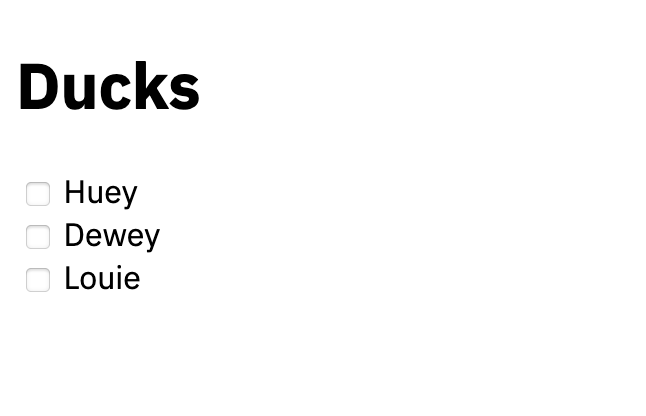
In our <List> component, we define an array of items and render each item in a list of checkboxes.
<script>
  const ducks = ['Huey', 'Dewey', 'Louie'];
</script>

<style>
  ol {
    list-style-type: none;
    padding-left: 0;
  }
</style>

<ol>
  {#each ducks as duck}
    <li>
      <input type="checkbox" id={duck} value={duck}>
      <label for={duck}>{duck}</label>
    </li>
  {/each}
</ol>
This works as you might expect.

Step 2: Add a ‘Select all’ checkbox
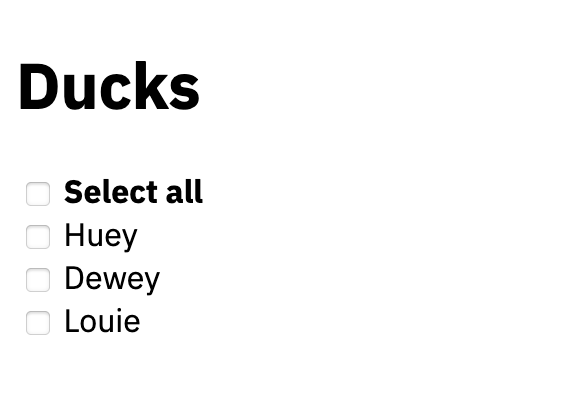
We do this by adding another <li> above the loop.
<ol>
  <li>
    <input type="checkbox" id="select-all">
    <label for="select-all"><strong>Select all</strong></label>
  </li>
  {#each ducks as duck}
    <li>
      <input type="checkbox" id={duck} value={duck}>
      <label for={duck}>{duck}</label>
    </li>
  {/each}
</ol>
It will, again, meet expectations.

Step 3: Define a set to hold the selected values
We initialize an empty set called selectedDucks. Every time a user checks a box, we add it to the set. Every time they uncheck one, we remove it from the set.
<script>
  const ducks = ['Huey', 'Dewey', 'Louie'];

  let selectedDucks = new Set();

  const onCheckDuck = event => {
    if (event.target.checked) {
      selectedDucks.add(event.target.value);
    } else {
      selectedDucks.delete(event.target.value);
    }
    selectedDucks = selectedDucks;
  };
</script>
Notice how we add a redundant assignment? selectedDucks = selectedDucks; would do nothing in plain JavaScript, but we need it here to tell Svelte to rerender the component. Calling methods like .add() and .delete() on a set does not rerender it.
Next, we bind onCheckDuck to the change event on the checkboxes.
{#each ducks as duck}
  <li>
    <input type="checkbox" id={duck} value={duck} checked={selectedDucks.has(duck)} on:change={onCheckDuck}>
    <label for={duck}>{duck}</label>
  </li>
{/each}
We bind the checked attribute of each item to its presence in the set. We need to do this one-way binding so that if the set is updated from elsewhere (which it will), the checkbox gets checked too.
Step 4: Bind the ‘Select all’ checkbox
Just like the item checkboxes, we handle the change event on the ‘Select all’ checkbox too. The difference is that when it is checked, we add all the items to the set, and when it is unchecked, we clear the set. This will affect the checked attribute on item checkboxes, thus satisfying our first two criteria.
const onSelectAll = event => {
  if (event.target.checked) {
    selectedDucks = new Set(ducks);
  } else {
    selectedDucks.clear();
  }
  selectedDucks = selectedDucks;
};<li>
<input type="checkbox" id="select-all" checked={selectedDucks.size === ducks.length} on:change={onSelectAll}>
<label for="select-all"><strong>Select all</strong></label>
</li>Did you see how we bound the checked attribute based on the size of the set? This way, the ‘Select all’ checkbox will get automatically checked and unchecked depending on whether all the item checkboxes are checked. This satisfies the third and fourth criteria.
That’s all, folks!
We used a set to define which items the user has selected. Based on the contents of the set, we checked and unchecked a ‘Select all’ button. We also handled user interaction on the ‘Select all’ checkbox to fill or empty the set, which in turn checks or unchecks the item checkboxes.
Here is the full code for your reference.
<script>
const ducks = ['Huey', 'Dewey', 'Louie'];
let selectedDucks = new Set();
const onCheckDuck = event => {
if (event.target.checked) {
selectedDucks.add(event.target.value);
} else {
selectedDucks.delete(event.target.value);
}
selectedDucks = selectedDucks;
};
const onSelectAll = event => {
if (event.target.checked) {
selectedDucks = new Set(ducks);
} else {
selectedDucks.clear();
}
selectedDucks = selectedDucks;
};
</script>
<style>
ol {
list-style-type: none;
padding-left: 0;
}
</style>
<ol>
<li>
  <input type="checkbox" id="select-all" checked={selectedDucks.size === ducks.length} on:change={onSelectAll}>
  <label for="select-all"><strong>Select all</strong></label>
</li>
{#each ducks as duck}
<li>
<input type="checkbox" id={duck} value={duck} checked={selectedDucks.has(duck)} on:change={onCheckDuck}>
<label for={duck}>{duck}</label>
</li>
{/each}
</ol>
<p>{selectedDucks.size} ducks selected.</p>